
Setting the Java path in Windows 11 is essential for running Java applications and development tools. This guide will walk you through the steps to set the Java path correctly.
Step 1: Download and Install Java

- Download Java: Visit the official Oracle website and download the Java Development Kit (JDK) for Windows.
- Install Java: Run the installer and follow the on-screen instructions to install Java on your system.
Step 2: Find the Java Installation Directory
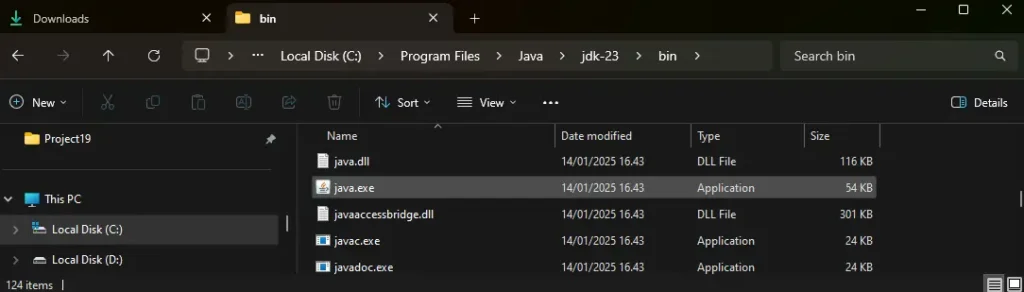
- Open File Explorer: Navigate to the directory where Java is installed. By default, it is usually located in
C:\Program Files\Java\jdk-version. - Note the Path: Copy the full path to the JDK directory.
Step 3: Set the JAVA_HOME Environment Variable
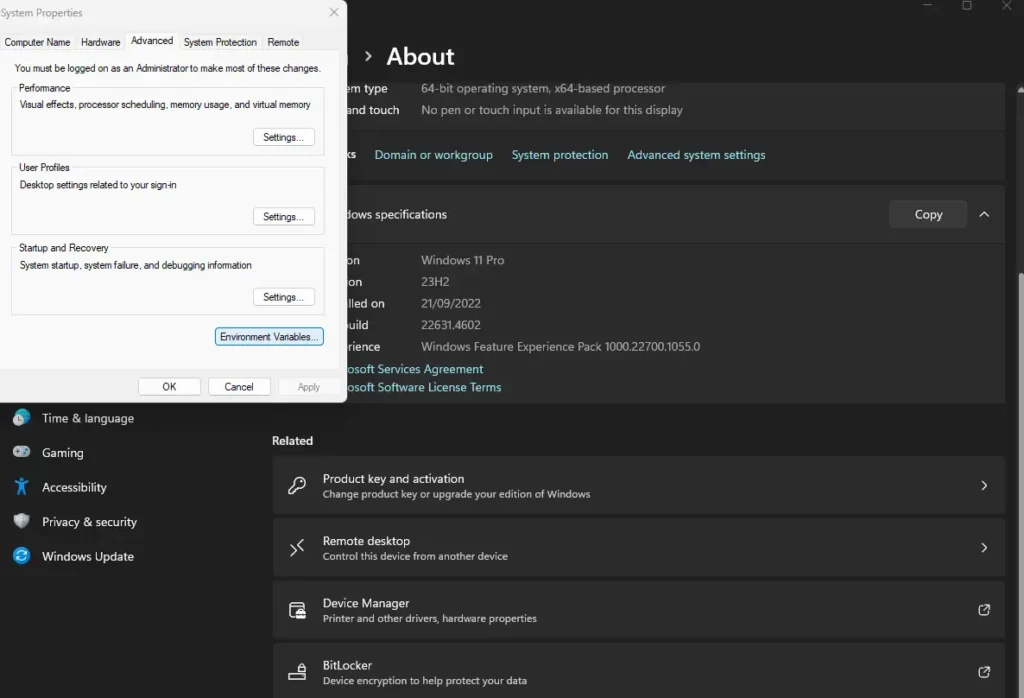
- Open System Properties: Press
Win + S, type “System”, and select “System” from the search results. - Advanced System Settings: Click on “Advanced system settings” on the left side.
- Environment Variables: In the System Properties window, click on the “Environment Variables” button.
- New System Variable: In the Environment Variables window, click on “New” under the “System variables” section.
- Variable Name: Enter
JAVA_HOMEas the variable name. - Variable Value: Paste the path to the JDK directory that you noted earlier.
- Save Changes: Click “OK” to save the new variable.
Step 4: Update the PATH Environment Variable
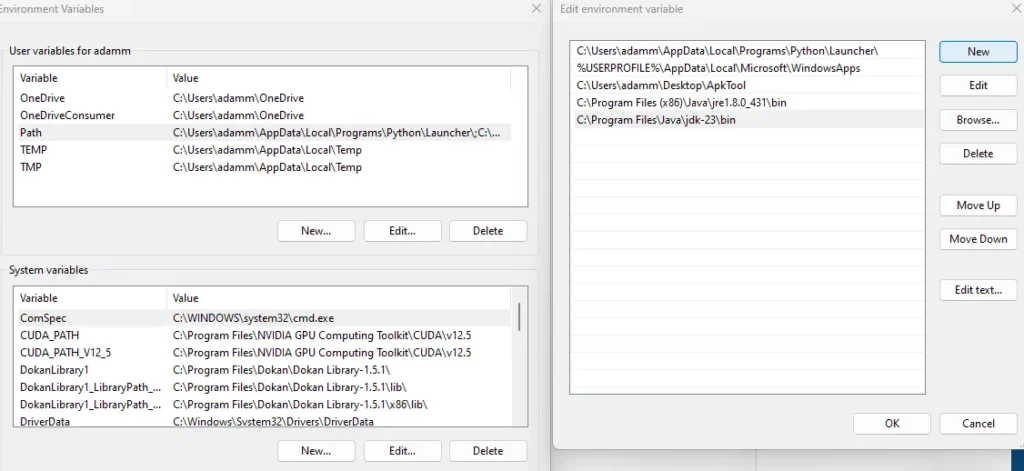
- Edit PATH Variable: In the Environment Variables window, find the
PATHvariable under “System variables” and select it. - Edit Variable: Click on “Edit”.
- Add Java Path: Click on “New” and add
%JAVA_HOME%\binto the list of paths. - Save Changes: Click “OK” to save the changes.
Step 5: Verify the Setup
- Open Command Prompt: Press
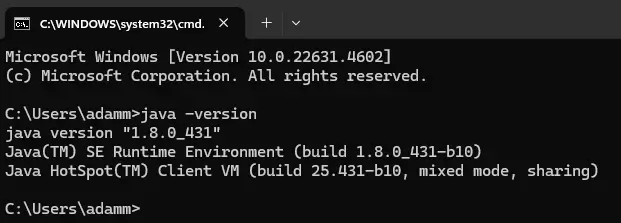
Win + R, typecmd, and press Enter to open the Command Prompt. - Check Java Version: Type
java -versionand press Enter. You should see the installed Java version information. - Check Java Compiler: Type
javac -versionand press Enter. You should see the Java compiler version information.
Conclusion
By following these steps, you have successfully set the Java path in Windows 11. This will allow you to run Java applications and development tools without any issues.


